Sidebar
User Statistics
- Total Users: 1,134
- Latest User: evilmoster
- Online Users: 0
- Users Today: 0
- Users this Week: 0
- Users this Month: 0
- Users this Year: 0
Who's Online
We have 54 guests and no members online
Downloads Stats
Displaying items by tag: windows 7
Access hidden regional Themes in Windows 7

Today i am going to show you a pretty neat trick, that are hidden in Windows 7. Windows 7 offers you location specific Aero themes based on the language and location you pick during installation. In this tutorial i will show you how to accessing other hidden themes from different countries. When you first start the Windows 7 installation the first thing you will do is select a language, time and currency format. This is where Windows determines what themes you’re presented with by default.
Being from Norway i am not presented with the same themes as for example United States of America (USA) are presented with, this is because of location specific themes from the United States with desktop backgrounds such as scenery from Maine, Idaho, Oregon etc.
Alienware HQ AIMP3 Skin pack Preview
Hey guy's, so i have finally finished the AIMP3 skin for my upcoming Alienware HQ Theme Series for Windows 7 and 8
I you are following me over at my facebook page, i bet you have seen the design process of the skin, and i have spent a good 10-15 hours in total on this skin i think, and i enjoyed every second of it.
The reason i made this skin is because i posted a status over at facebook, asking if you guy's had some wishes of extras for the upcoming theme pack, AIMP3 came up, and i have only made one other AIMP3 skin so it was time to finally get deep into the AIMP skinner and make another Skin.
Custom Photoshop Background
Have you been wondering how you can change thedefault background and how to add a custom background.
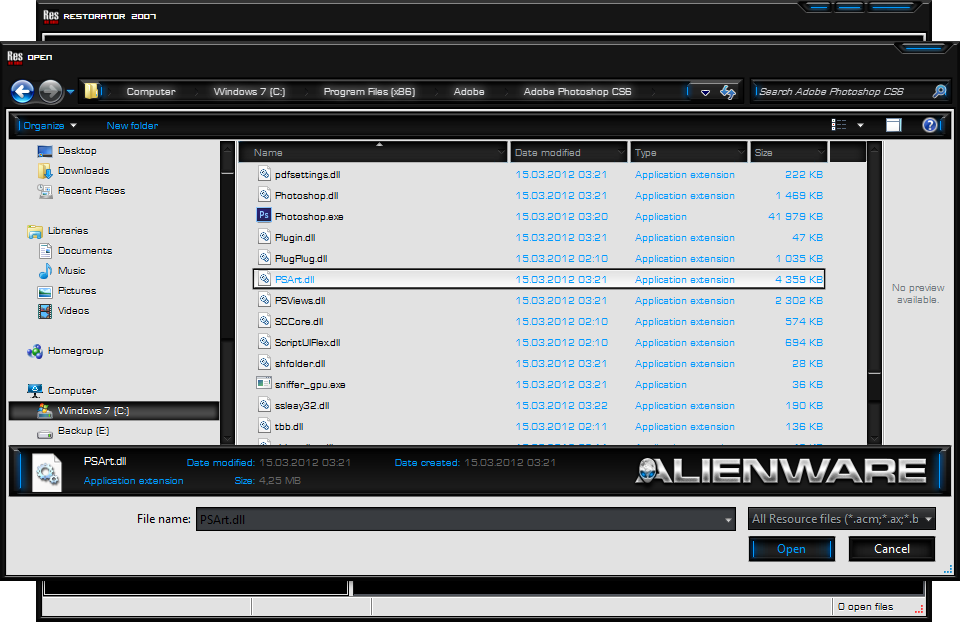
WMP 12 Custom Background
Have you been wondering how you can change thedefault background and how to add a custom background.
Dont you worry this tutorial will show you how to change the default background and how to add a custom background in Windows Media Player that is shown in Library mode. All you need is a program called Restorator to do this modification/hack.
You can download a free 30-day trial, or you can do as i did and buy it, and supporting the company for further development.
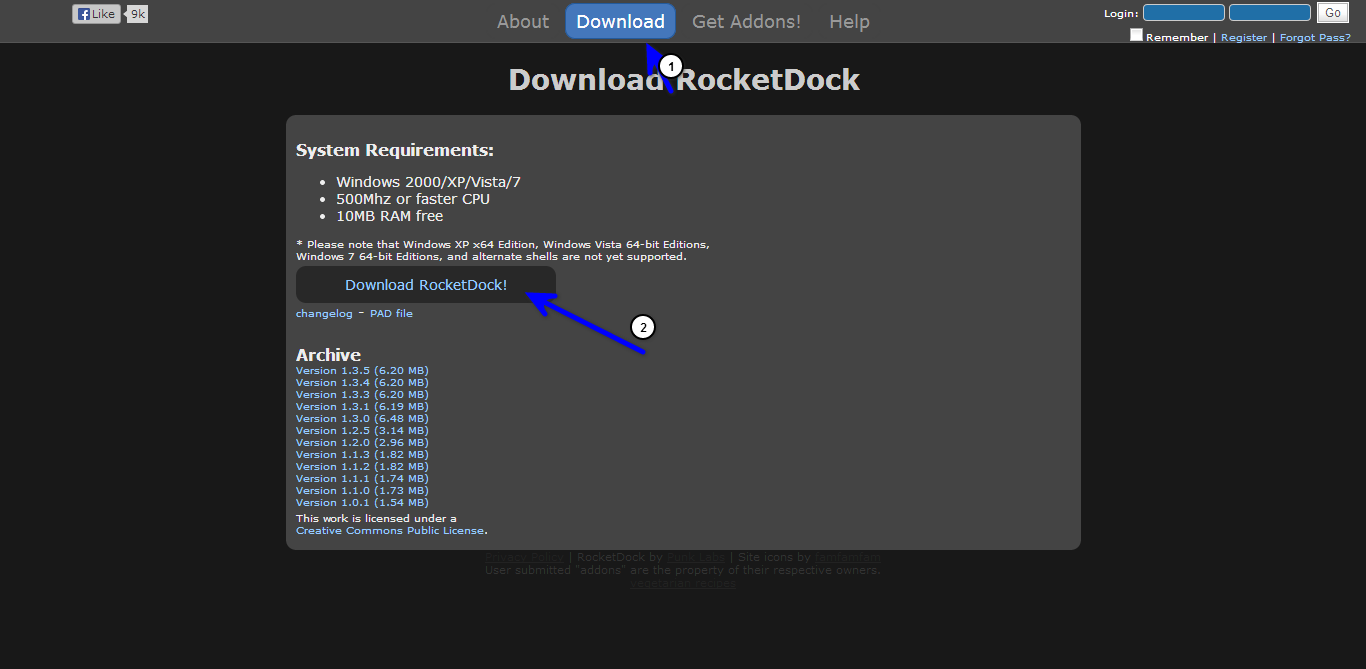
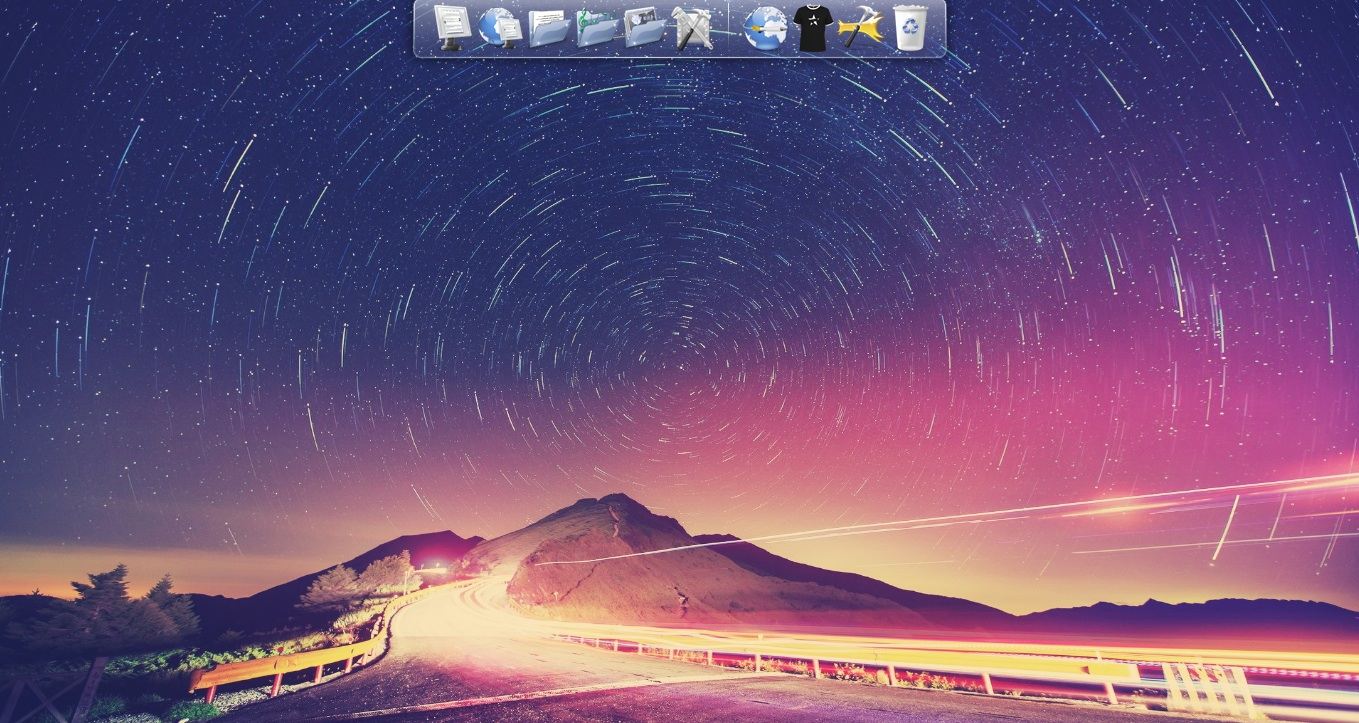
What is RocketDock?
What Is RocketDock? RocketDock is a tiny application that launches your programs, and is similar to the dock that comes with Mac OS X.
There are even OSX skins available for the program, but I’m getting ahead of myself. The most important thing to consider here is the fact that you may not even need RocketDock to begin with! The reason I say this is because Rainmeter (which I’ve covered extensively throughout my last tutorial ) has a lot of functionality overlap with RocketDock. That said, RocketDock does offer a more extensive range of tools that could complement your setup. It’ll be up to you to decide what you need.
Getting RocketDock is as simple as going to their site and clicking the download tab. You’ll be taken to the download page where you can find an array of the latest versions of RocketDock. My recommendation is to click on the download button, which will download the latest stable release. It installs as any other program. Open the program when finished installing to get started and you’re good to go!
How to "Patch" your computer.
In this tutorial i will explain how to patch your computer for allowing custom Windows 7 Themes
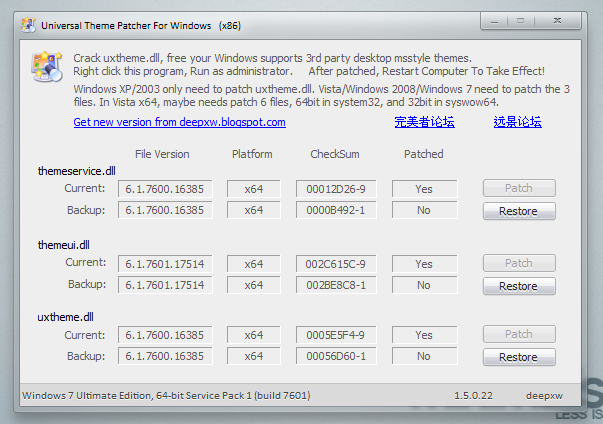
1. First you will need to click on the Download below to download and install the patcher, for Windows 7. Universal Theme Patcher, can be found here: Link to Download 2. When downloaded, unzip the file using a program like 7zip or similar once. 3. Ater unzipping the package, open the folder, and choose the corresponding patcher based on you Windows: For 32bit(x86): UniversalThemePatcher-x86.exe For 64bit(amd64): UniversalThemePatcher-x64.exe The program require administrator rights to run. Right-click the exe file, select Run as Administrator.
4. Windows 7 6801 need to patch 3 files: uxtheme.dll, themeui.dll, themeservice.dll Sometimes, in x64 Windows, you need to patch 2 more files, using UniversalThemePatcher-x86.exe to patch the 32bit files in \windows\system32 and using UniversalThemePatcher-x64.exe to patch the 64bit files in \windows\syswow64.
After patching is done, Restart your computer, to take effect.
Theme Resource Changer
Theme Resource changer eliminates having to edit dll or exe files to replace the images in your explorer.exe, explorerframe.dll and shell32.dll. folders
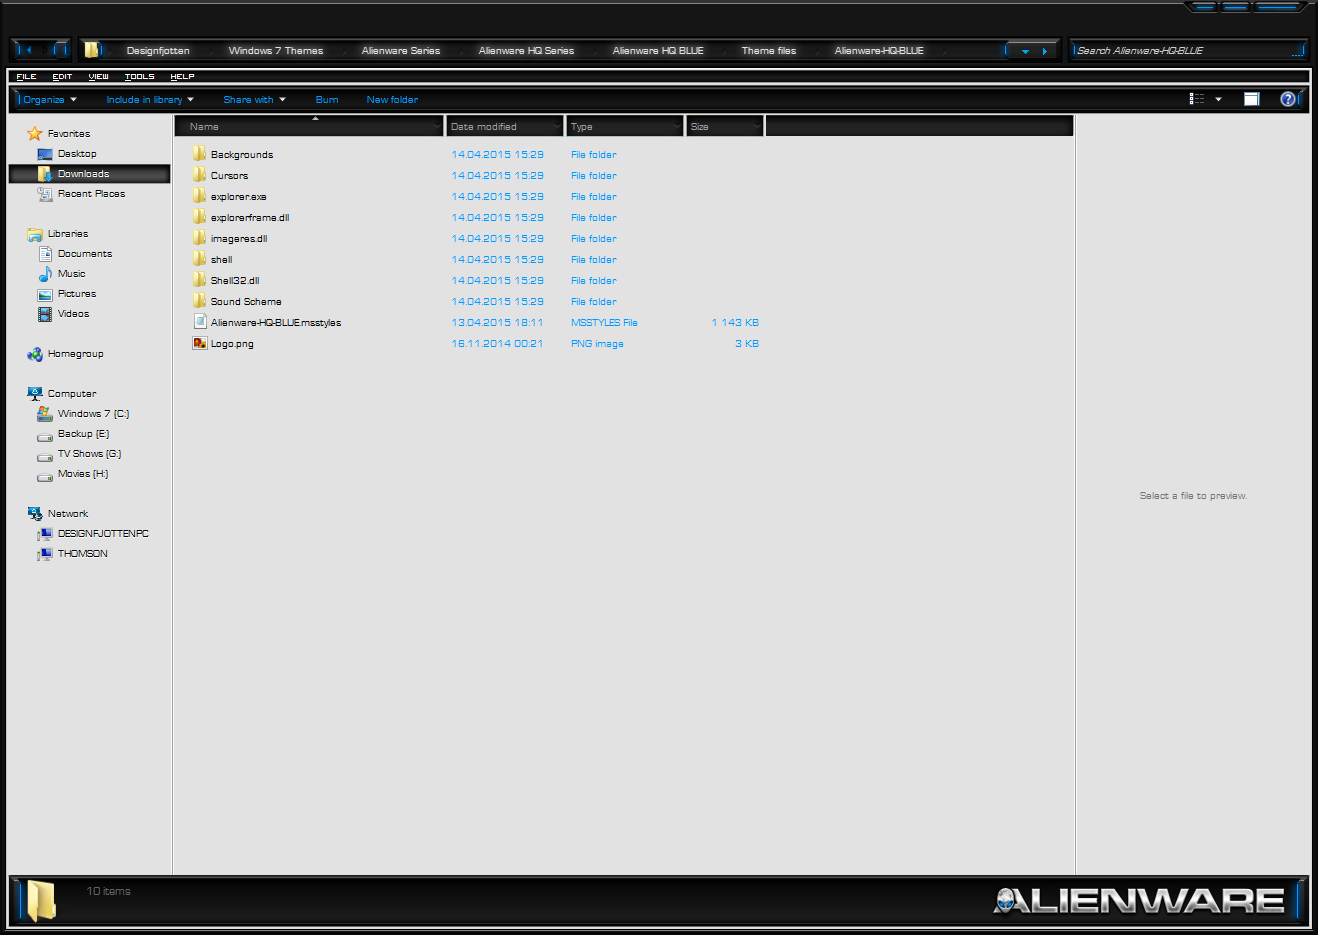
1. To use the Theme resource changer download and run the Theme Resource Changer.exe x86 or x64 depending on what operating system you are running on your machine. Theme resource changer can be found here Download 2. After installation, the program will automatically restart explorer, and you are set to customize your world. You only have to install this program once and it will work for any theme that you setup to use it with. 3. To set your themes to use the Theme Resource Changer all that is needed is to make 3 folders inside your theme folder, with these names
explorer.exe explorerframe.dll Shell32.dll
like in the screen shot to the left:
These folders go inside your theme folder you have in windows\resources\themes\your theme name
Inside each folder you add the picture resources you would like to use, with you .msstyle file. The images you put inside the, explorer.exe, explorerframe.dll and Shell32.dll folders, they have to have the same image name, and file extension as TRC. These resources must be in png format. So take explorer.exe as an example, the start orb, the numbers for these in the explorer.exe are 6801, 6805, 6809, Add those picture resources to the explorer.exe folder and place it inside your theme folder.
How to add “Take Ownership”
How to Add “Take Ownership” Option in Files and Folders Context Menu in Windows
Many times you need to take ownership of a file or folder in Windows. For example, when you want to customize Windows UI and need to replace existing system files with a new one. You have to follow no. of steps to take ownership and grant yourself full permission to access the file or folder.
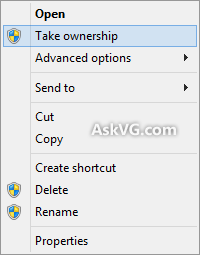
But now you can do it in a single step. You just need to download following zip file and extract it. You'll get a .REG file. Run the file and accept the confirmation. It will add an extra option "Take ownership" in file and folder context menu like in the image you can se on the right.
Now you can right-click on any file or folder and select "Take ownership" option. It'll make you the owner of the file or folder and you can perform your desired operation on that file or folder. An extra uninstallation registry script is also available in the ZIP file in case you want to remove the option from context menu. PS: If you want to know what kind of command does the context menu option "Take Ownership" execute when you click on it, here is some interesting information for you: We have assigned 2 commands to the context menu option, so whenever you click on "Take Ownership" option from context menu, it executes those 2 commands to take ownership of the file/folder and assign full control to you. Following are the 2 commands which are run by the context menu option:
How to change Systemcpl.dll
This tutorial has been tested in Windows 7 but it should also work in Windows Vista and Windows 8.
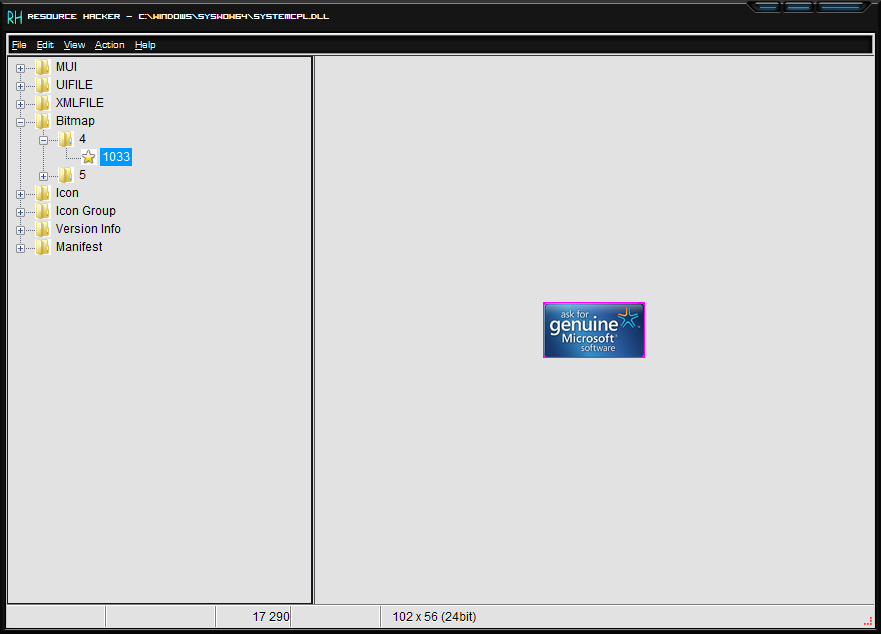
So without wasting time, lets start the tutorial: 1. The system file which contains System Properties UI resources in Windows 7 is "systemcpl.dll" present in "%windir%\System32\" folder. Here %windir% represents "Windows" directory which can be found in the system drive where Windows is installed. In most of the cases its C:\Windows. First copy systemcpl.dll file from "System32" folder to some other location for example Desktop.
2. Now open the new file in Resource Hacker and go to following key: Bitamp -> 4 -> 1033
3. In right-side pane, you'll get a preview of the image that is applyed in the .dll file
4. When you finish editing/modifying the file, click on save
5. Now we'll need to replace original systemcpl.dll file present in "C:\Windows\System32\" folder with our new systemcpl.dll file which we saved at Desktop or some other location.
6 a. First take ownership of "C:\Windows\System32\systemcpl.dll" file using following tutorial: How to add “Take Ownership”
6 b. Now rename it to "systemcpl_backup.dll" or any other name of your choosing.