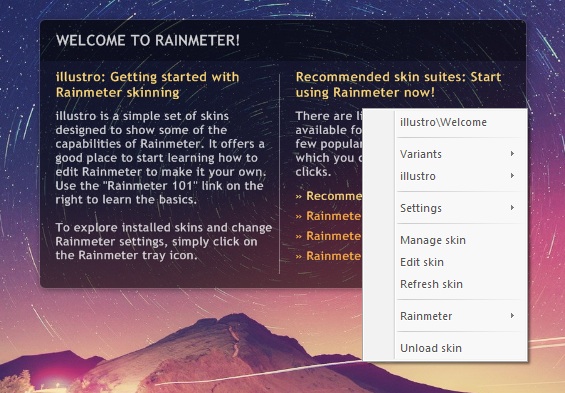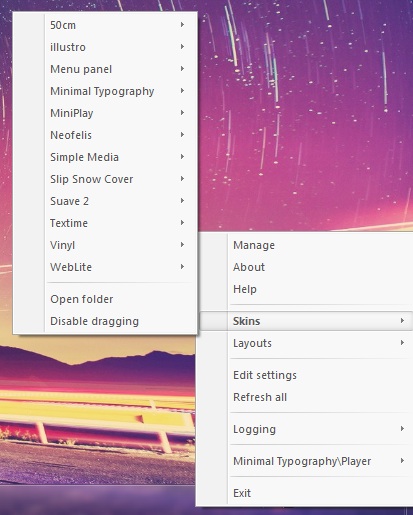
In any event, right-clicking on the Rainmeter skin will bring up this menu. In Rainmeter the icons, widgets and everything else are called “Skins”. By right-clicking on the icon in your system-tray, a menu as in the image in the left, will pop up on your screen. The "Skins" part of this menu will bring up the skins you have installed in your system. Installing Skins is as simple as finding them and opening them. thats what we are going to talk about next, and where could we find Skins?
Where can i get custom skins?
We have all heard the term DA if you are a member of a theming site or similar, those are the initials of DeviantART, the biggest design community out there. GO to DeviantART and search for “Rainmeter” if you wanna find some skins for your desktop. After you have found one you like and have downloaded the one you wanna load on your desktop, were can install it on your system.
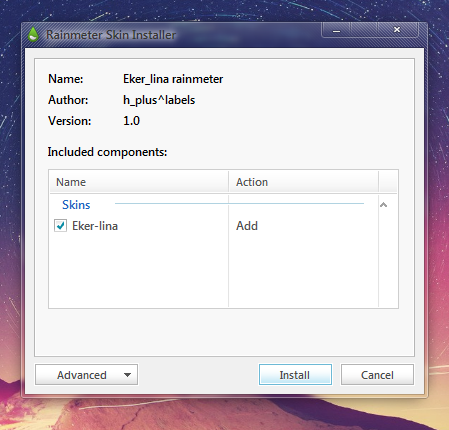
How to install a rainmeter skin on your system.
After you have downloaded the skin you want, navigate to the file you just download, and double-click it, to start the installation, wen it starts, you will see a windows on your screen looking like the one in the image on the right side. Just click install, which will make the window go away. That’s ok! It’s what you want to happen, and we can continue. Now you just need to right-click on the Rainmeter tray icon, and then click on Manage.
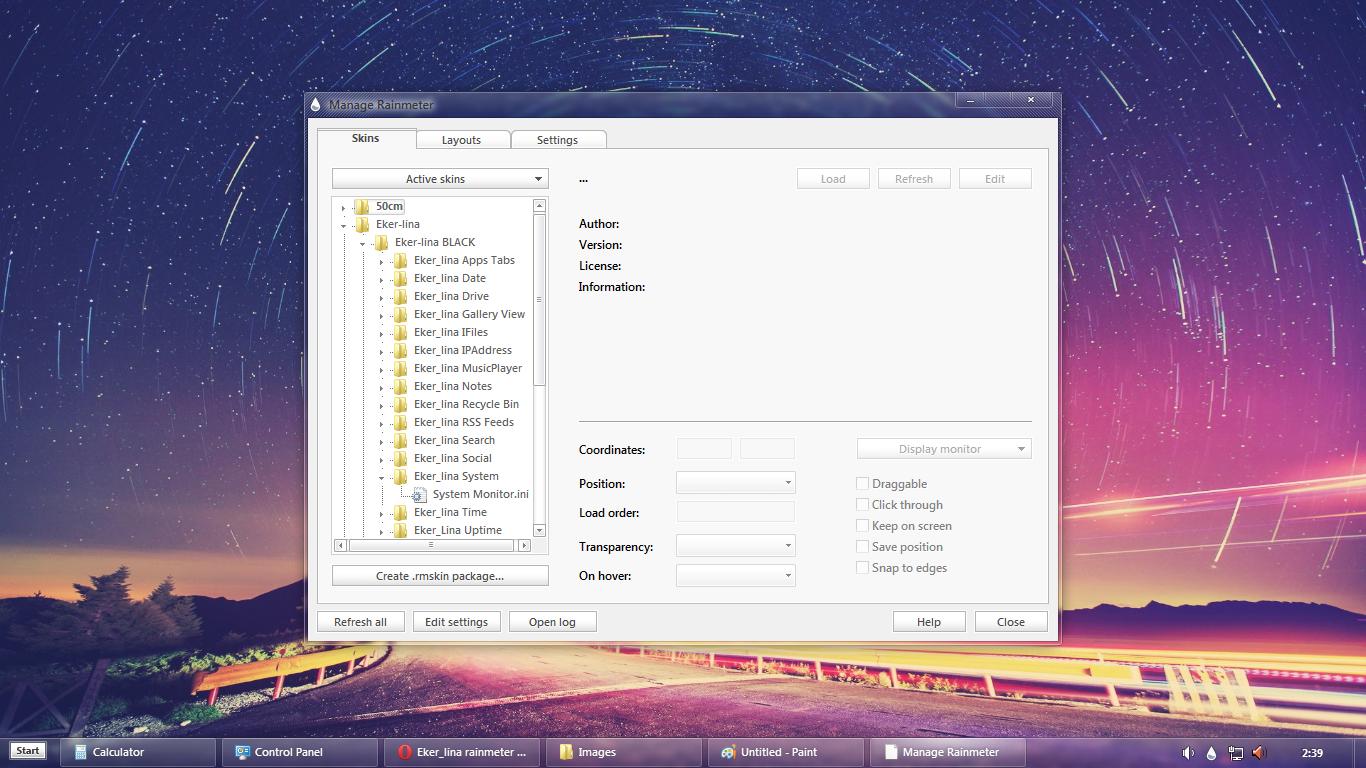
This will open up a new window on your screen called "Manage Rainmeter" as you can see on the example in the image in the left, you want to find the folder with the name of the skin you just installed and expand it. Have a look at the multiple components that the skin contains. If you double click on one of the system files, it will load on your desktop and you can see it and place it where ever you would like it to be, by left-clicking on it and just dragging it around. Well thats it, now you can install a rainmeter skin, and load it to your desktop, enjoy!

