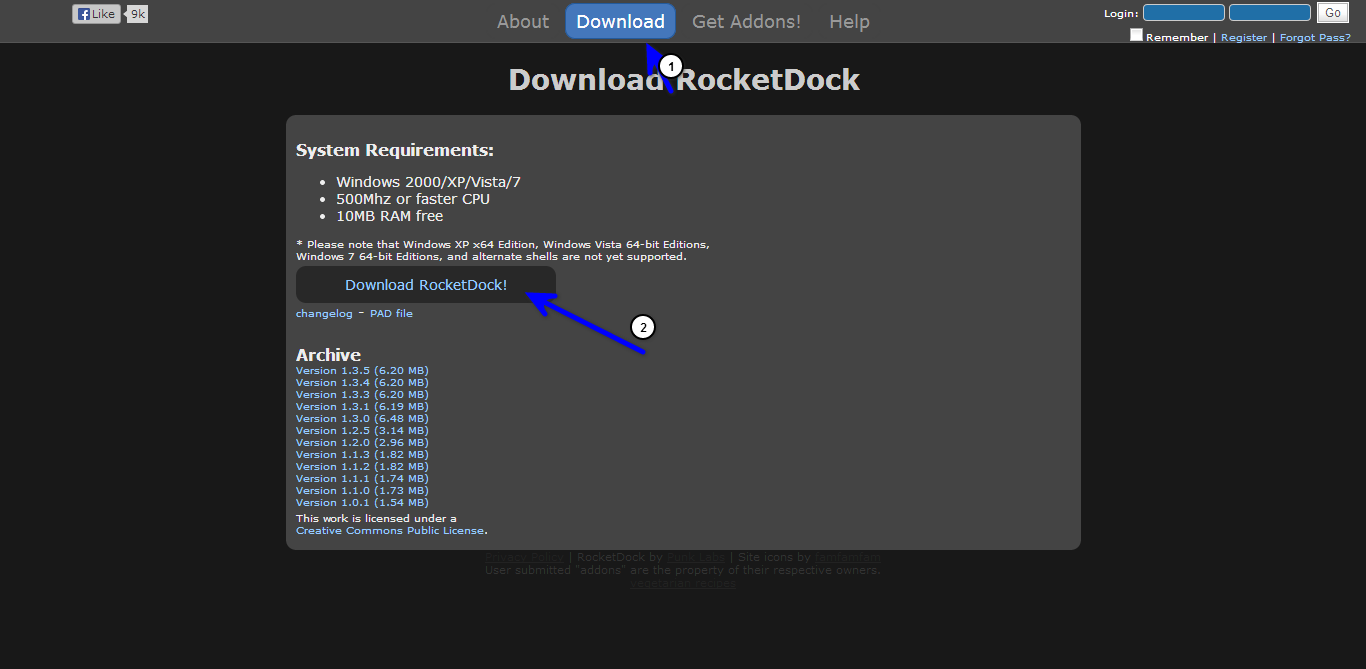
Getting Started With RocketDock.
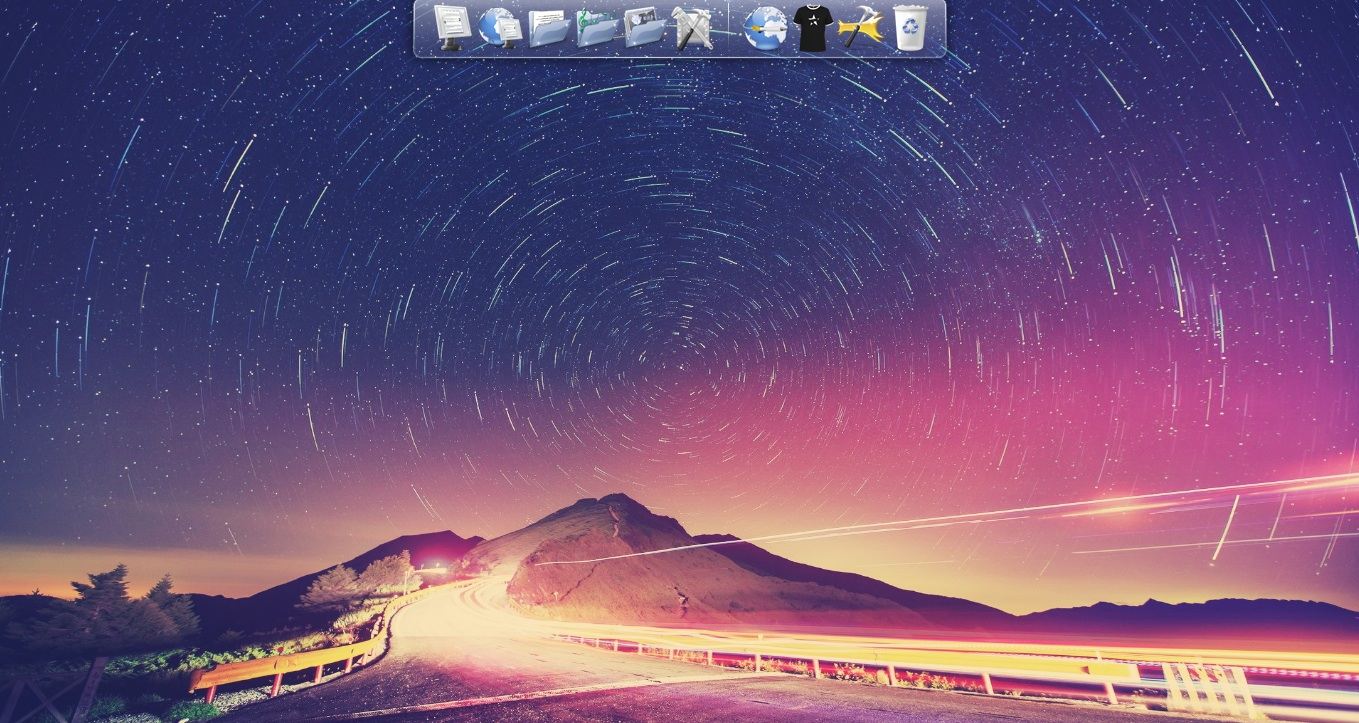
Immediately after installing and opening RocketDock you will see the default dock, which looks something like in the image in the right side here, It has a few items already included for you and including more is simple. All you have to do is right-click on the dock itself and you’ll see this menu:
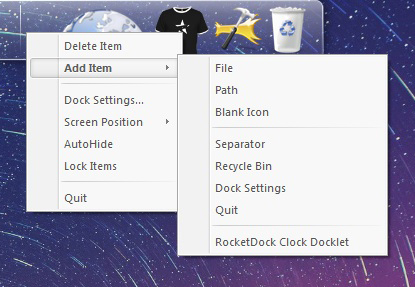
As you can see, there are several options for you to add. You can add everything from a blank icon to the recycle bin as well as any file or path (which is good for programs) within your system. You also have options to lock items, hide the dock when not in use automatically and several other awesome options.
Advanced Customization
Right out of the box RocketDock offers a very healthy selection of skins available for immediate use. All we have to do is click on “Dock preferences” and a window will pop up on your screen, and give you a list of installed skins/themes for you to choose from, On the image on the right you can see what i am talking about. This is great if you’re happy with the themes already provided, but what if you want to install a different theme that you saw on the Internet?
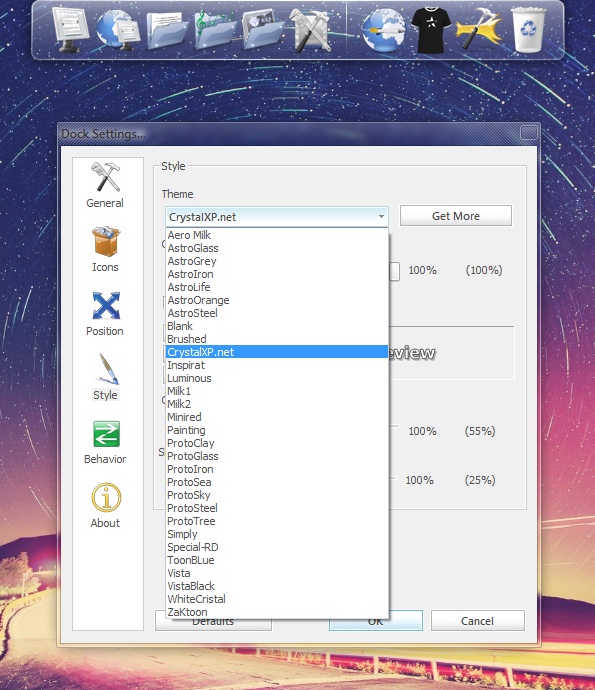
No problem, installing new Skins/themes for RocketDock is very simple. Download the file, the put it in the dedicated skins folder within the program folder (normally found at C:/Program Files/RocketDock). After doing this, you can select it from the menu in the program. Using this method, I got an OSX theme from the official skins site for RocketDock, And the result was this:
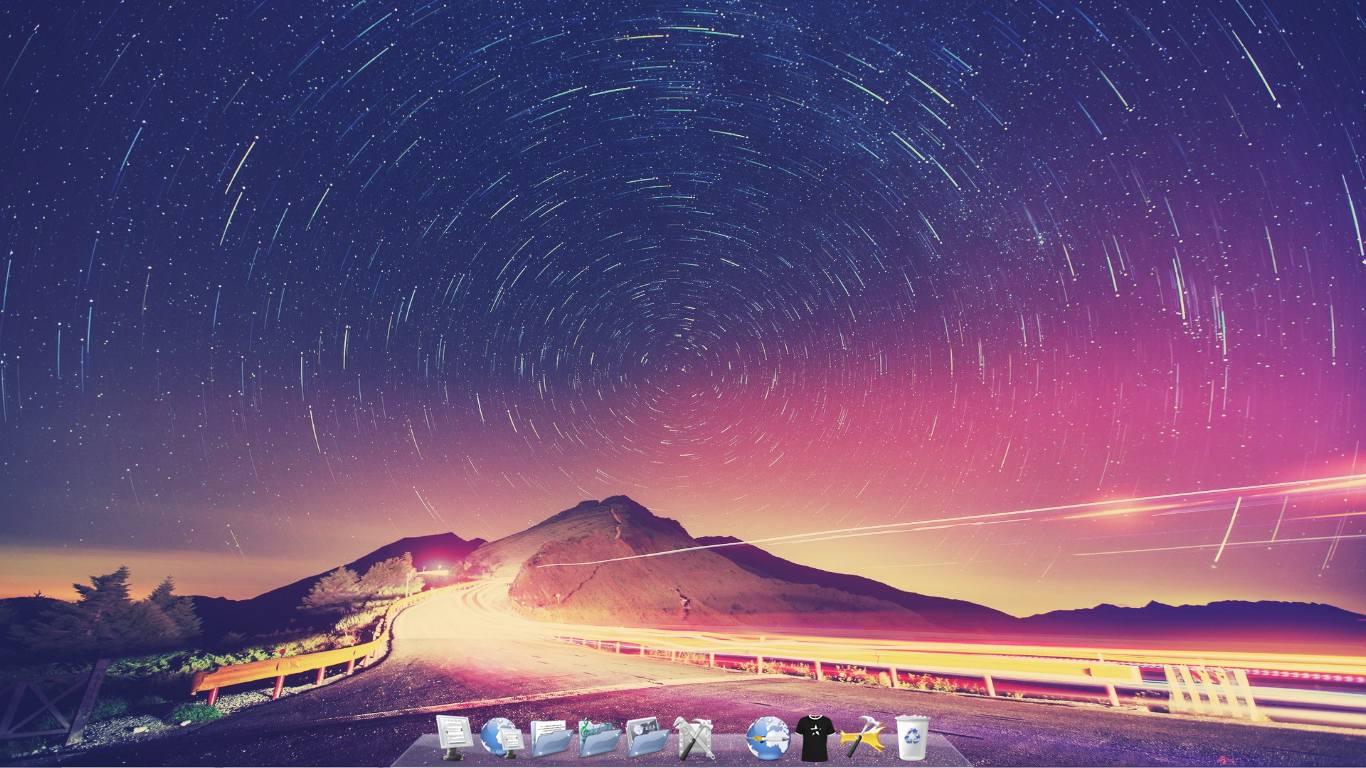
It looks pretty good already, and I could change the icons using the exact same method. There are thousands of possible combinations and options available with RocketDock, so definitely make sure to check it out if you think this kind of setup is attractive, Enjoy

