Blog (10)
Here you can read about it all, so stay tuned!
Children categories

News & Update (1)
In this category you can read about my last creations, and get the latest updates!

Tips & Tutorials (9)
In this category you can get tips and tricks from me, on how to make custom, windows 7 themeing, a bit more easy!
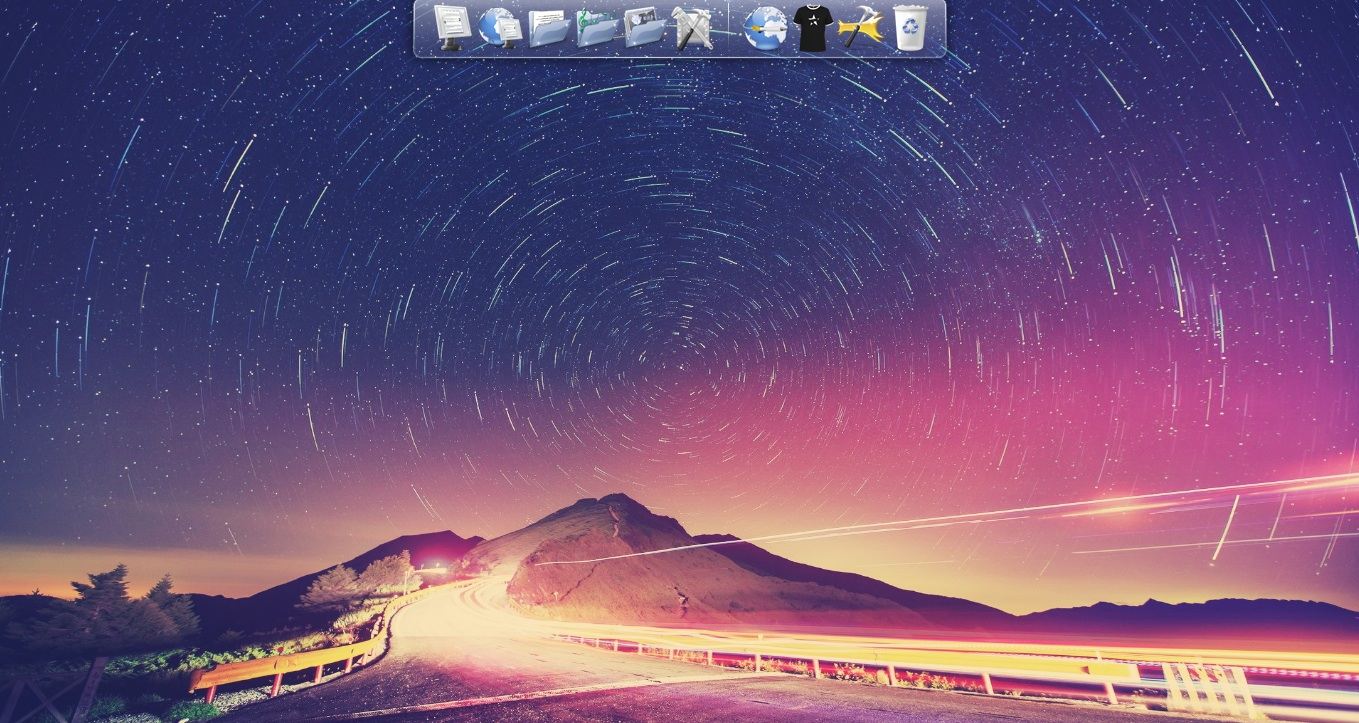
What Is RocketDock? RocketDock is a tiny application that launches your programs, and is similar to the dock that comes with Mac OS X.
There are even OSX skins available for the program, but I’m getting ahead of myself. The most important thing to consider here is the fact that you may not even need RocketDock to begin with! The reason I say this is because Rainmeter (which I’ve covered extensively throughout my last tutorial ) has a lot of functionality overlap with RocketDock. That said, RocketDock does offer a more extensive range of tools that could complement your setup. It’ll be up to you to decide what you need.
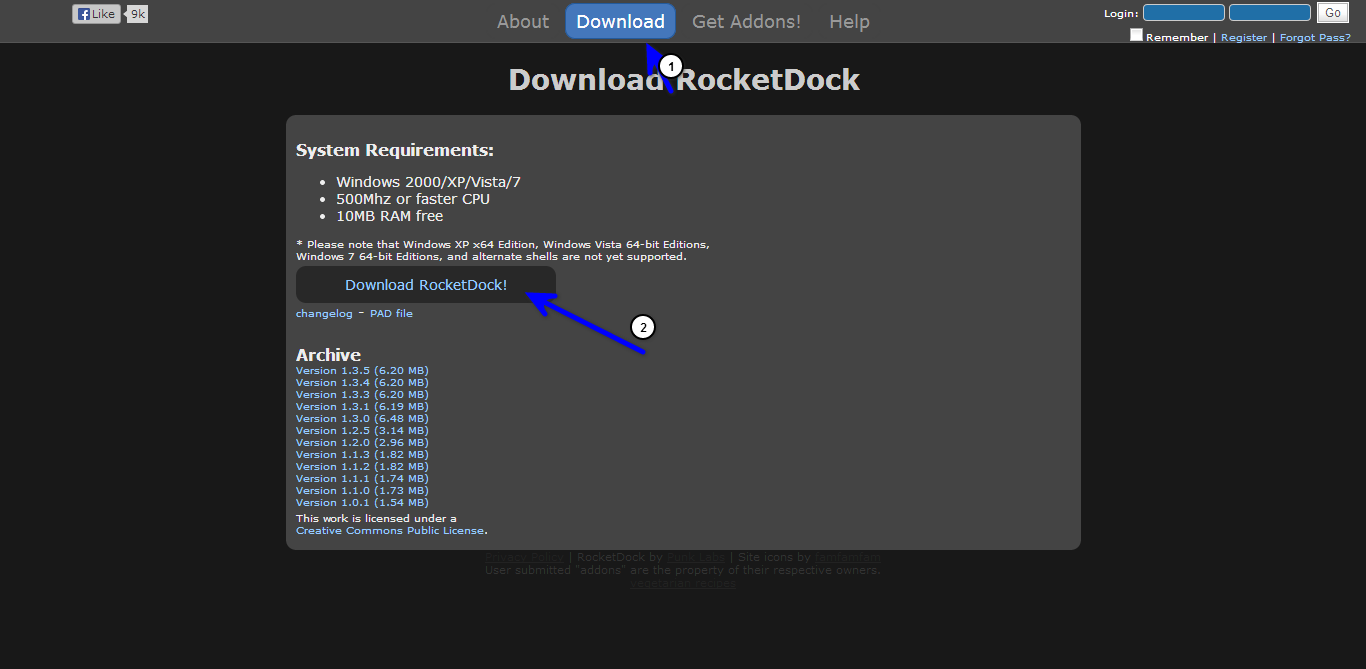
Getting RocketDock is as simple as going to their site and clicking the download tab. You’ll be taken to the download page where you can find an array of the latest versions of RocketDock. My recommendation is to click on the download button, which will download the latest stable release. It installs as any other program. Open the program when finished installing to get started and you’re good to go!
What Is Rainmeter? And what is it used for?
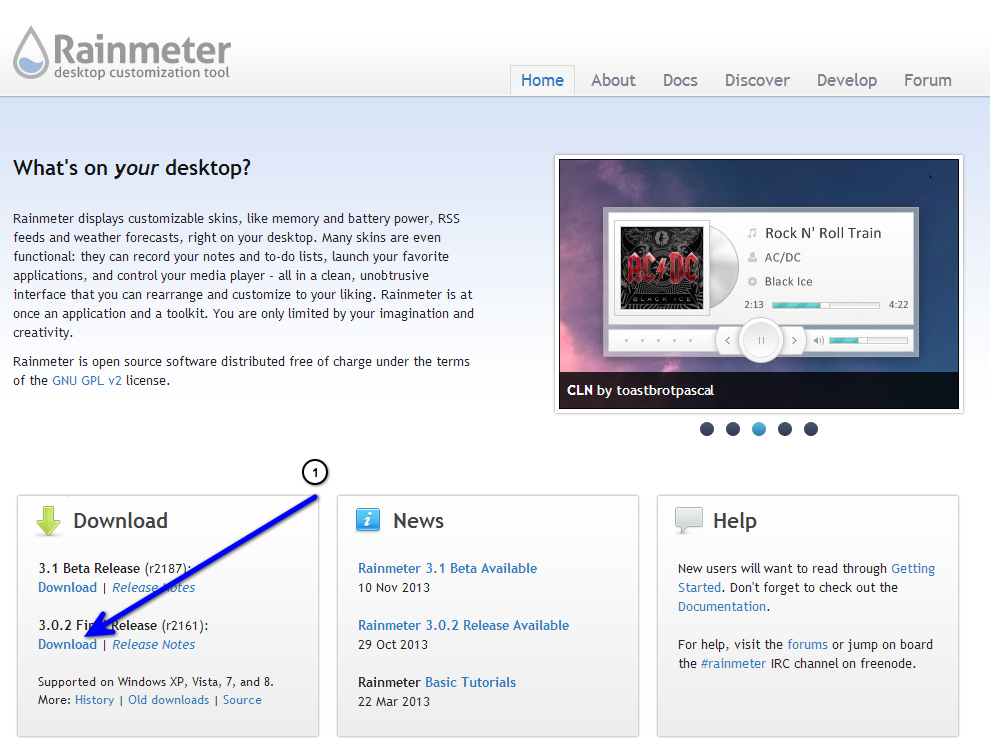
You probably have a background image you love, and a few icons, but have you ever thought about adding something…else? Like a clock, or the weather? What about your upcoming calendar appointments? Rainmeter is a wildly popular program that uses your desktop as a veritable canvas – a canvas for everything from custom icons, widgets and visual controls for media players. It’s easy to use, offers a lot of value and is supported by a large community. All you have to do to get Rainmeter is go to the official website and download the latest stable release.
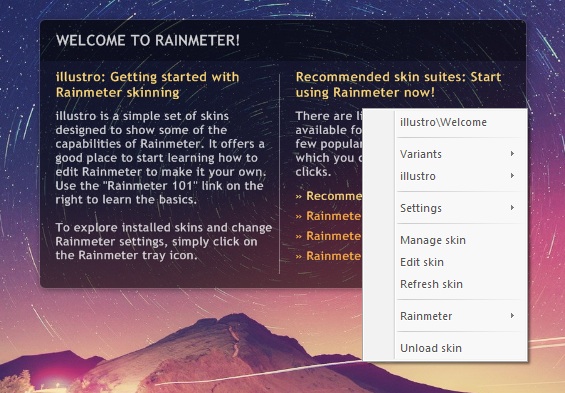
Getting Started With Rainmeter.
Right after you install Rainmeter, you will see something like the image on the right.In this tutorial i will explain how to patch your computer for allowing custom Windows 7 Themes
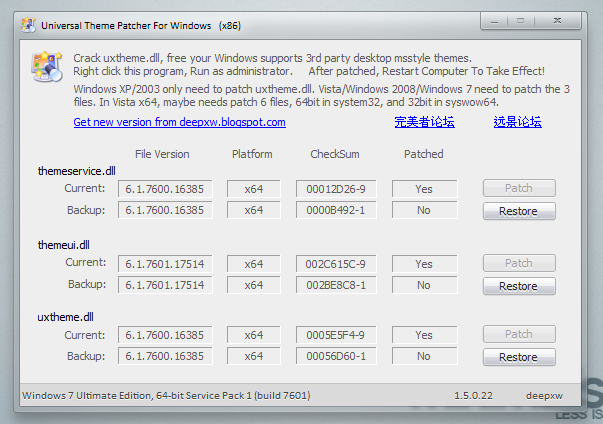
1. First you will need to click on the Download below to download and install the patcher, for Windows 7.
Universal Theme Patcher, can be found here: Link to Download
2. When downloaded, unzip the file using a program like 7zip or similar once.
3. Ater unzipping the package, open the folder, and choose the corresponding patcher based on you Windows:
For 32bit(x86): UniversalThemePatcher-x86.exe
For 64bit(amd64): UniversalThemePatcher-x64.exe
The program require administrator rights to run. Right-click the exe file, select Run as Administrator.
4. Windows 7 6801 need to patch 3 files: uxtheme.dll, themeui.dll, themeservice.dll
Sometimes, in x64 Windows, you need to patch 2 more files, using UniversalThemePatcher-x86.exe to patch the 32bit files in \windows\system32 and using UniversalThemePatcher-x64.exe to patch the 64bit files in \windows\syswow64.
After patching is done, Restart your computer, to take effect.
Theme Resource changer eliminates having to edit dll or exe files to replace the images in your explorer.exe, explorerframe.dll and shell32.dll. folders
1. To use the Theme resource changer download and run the Theme Resource Changer.exe x86 or x64 depending on what operating system you are running on your machine.
Theme resource changer can be found here
Download
2. After installation, the program will automatically restart explorer, and you are set to customize your world. You only have to install this program once and it will work for any theme that you setup to use it with.
3. To set your themes to use the Theme Resource Changer all that is needed is to make 3 folders inside your theme folder, with these names
explorer.exe explorerframe.dll Shell32.dll
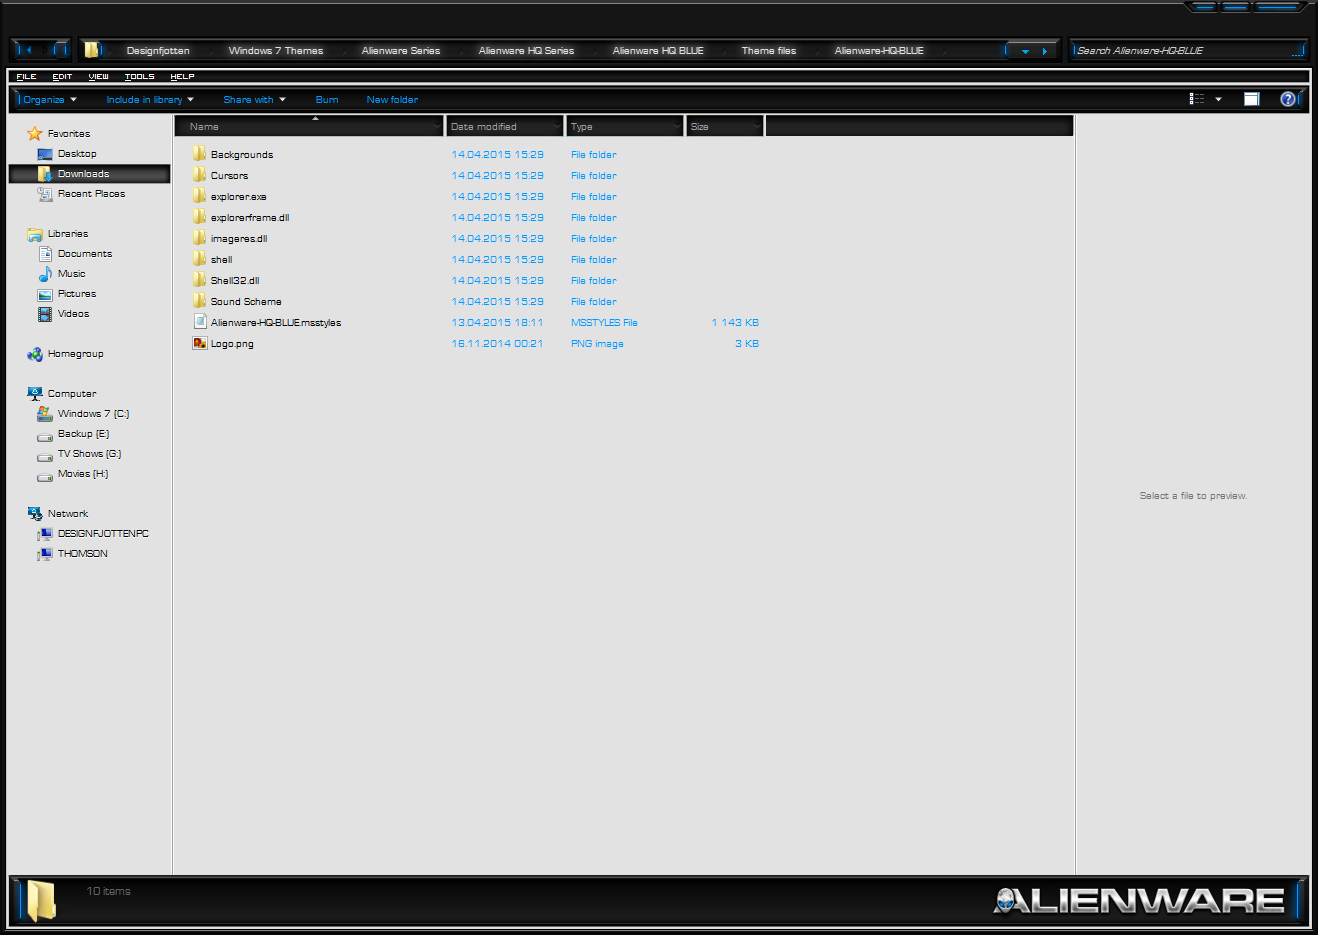
like in the screen shot to the left:
These folders go inside your theme folder you have in windows\resources\themes\your theme name
Inside each folder you add the picture resources you would like to use, with you .msstyle file. The images you put inside the, explorer.exe, explorerframe.dll and Shell32.dll folders, they have to have the same image name, and file extension as TRC. These resources must be in png format. So take explorer.exe as an example, the start orb, the numbers for these in the explorer.exe are 6801, 6805, 6809, Add those picture resources to the explorer.exe folder and place it inside your theme folder.

